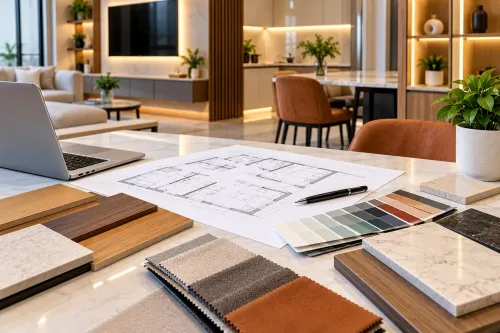
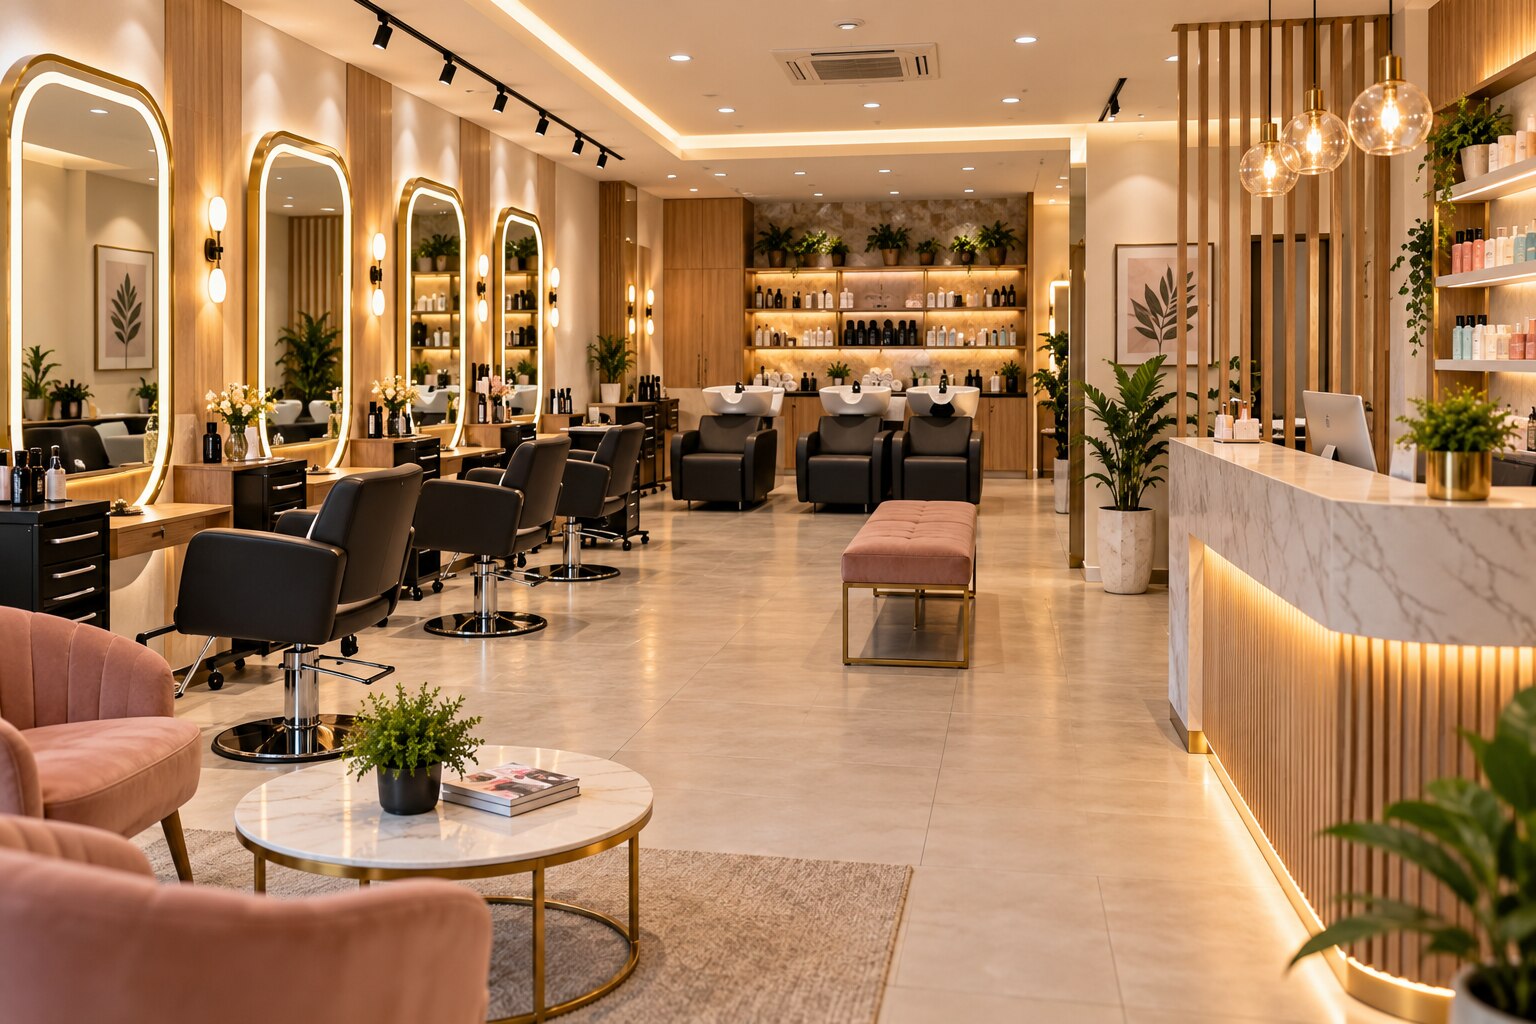
A salon can fit every required service and still feel slow, noisy and uncomfortable when zones, clearances and lighting are planned independently. By the end, you will have a practical way to arrange each service area, calculate capacity, specify salon lighting and test comfort before construction begins.
Key takeaways
- Separate client, chemical, linen and staff routes before placing furniture.
- Calculate stations, shampoo beds and waiting seats from service demand and peak occupancy.
- Use high-CRI lighting with neutral colour temperature for reliable colour assessment.
- Test circulation, noise, privacy and reach distances at full-size floor-plan scale.
How should a salon be divided into functional zones?
Build the salon zoning plan as a client journey, not a grid of chairs: arrival, consultation, service, washing, finishing and departure should connect without crossing dirty-linen or chemical routes.
1. Put the entrance, reception desk, queue space, waiting seats and retail display at the front. Make the salon reception layout easy to read from the door, but keep retail circulation separate from the reception queue so browsing customers do not block check-in.
2. Place styling stations and cutting chairs in the main visible work area, with room for a stylist, trolley and chair movement. Keep colour and chemical services near suitable local ventilation, away from refreshments and food.
3. Plan shampoo units placement between styling and back-of-house support. A towel can move from clean storage to the basin and used linen can leave without crossing refreshments, retail or waiting seats.
4. Put manicure and treatment rooms in quieter areas, behind acoustic separation where possible. Give toilets a direct route from reception or the main circulation path, without sending clients through active work areas.
5. Mark staff storage, clean-towel storage, used-linen holding, waste and cleaning supplies as separate, identifiable locations. Keep clean stock away from used linen and contaminated tools, and provide a defined disposal route for waste.
Walk the proposed route with a client, stylist, trolley, towel and waste bin. If any item must reverse through a queue, cross a chemical station or pass clean stock, revise the plan before fitting out.
How many stations, shampoo beds and waiting seats does the floor plan need?
Do not fill the room with the maximum number of chairs. Salon capacity planning starts with the busiest hour, not the total floor area.
1. Record peak-hour appointments, average service duration and the number of stylists working then. For a styling station calculation, multiply peak appointments per hour by average service minutes and divide by 60.
Round up, then add a modest allowance for cleaning, consultation and delays; a plan that uses every chair at once will slow down when one service runs over.
2. For a shampoo bed calculation, count clients requiring washing during the busiest hour. Multiply that number by the complete wash, recline, towel-change and reset cycle in minutes, divide by 60, and round up. A five-minute reset ignored on paper becomes a queue at the basins.
3. For waiting area seating, multiply peak arrivals by average waiting time in minutes and divide by 60. Compare the result with actual appointment patterns, including late arrivals, walk-ins and companions, rather than treating the formula as a fixed answer.
Keep a 915 mm clear route as a planning baseline and provide a 1525 mm turning circle wherever a wheelchair must turn. Preserve working space behind and beside every chair, trolley parking, door swings, outlet access and clear routes between facing rows.
Measure usable width after chair legs, columns and display plinths are placed; a nominally wide aisle is not clear circulation.
How can the plan control noise, chemicals, movement and physical comfort?
1. Keep reception, retail movement and blow-drying at the active front or centre, then place treatment rooms and consultations behind acoustic separation. This keeps quiet services away from pumps, extraction fans and hairdryers without creating a dead corridor; route clients along the busy edge and give quieter rooms direct, useful access.
2. Make salon acoustic design cleanable: combine ceiling absorption, wall panels and upholstered seating where hair and disinfectant can be removed. Avoid porous finishes beside basins and chemical stations, where colour residue and splash will accumulate.
Plan salon ventilation with chemical-service chairs beside source extraction, balanced by supply air, rather than relying on a distant ceiling return.
3. Divide thermal control by zone. A stationary client under a gown can feel cold while a moving stylist feels warm, and shampoo area comfort needs differ from reception; use adjustable supply and return settings, not ceiling fans or strong jets aimed at wet hair. Assess the result against ASHRAE Standard 55.
4. Specify slip-resistant wet-area flooring and verify the product’s tested wet DCOF; 0.42 is a commonly cited benchmark for level interior wet areas. Test the basin and reclining chair as a pair, checking neck support, recline, leg support, hand-shower reach and hot-water recovery.
Keep cords out of wet paths, and have a licensed electrician apply local protection requirements. Use sealed junctions, washable walls, non-porous worktops and removable upholstery covers.
What lighting makes hair colour, skin and faces easier to assess?
Start with approximately 500 lux at the working plane for general salon work, then design mirror lighting separately and check it directly on a client’s face. A bright room can still distort hair colour, skin tone and facial detail if the light has poor spectral quality or arrives from the wrong direction.
Specify layered salon lighting design, not fixtures selected by wattage or decorative appearance. Use luminaires rated CRI or Ra 90 or higher in styling and colour areas, and inspect the manufacturer’s separate R9 value when red-sensitive colour work matters. High lumen output cannot correct weak red rendering.
Provide diffused or shielded vertical light on both sides of every mirror, or install an evenly illuminated mirror. Light from above alone creates shadows beneath the brow, nose and chin, undermining salon colour assessment.
| Scene | Purpose | Lighting approach |
|---|---|---|
| Task | Cutting and colour work | Bright, high-CRI light with controlled glare |
| Consultation | Face-to-face discussion | Softer, lower-glare illumination |
| Waiting | Client comfort | Reduced brightness without dark corners |
| Retail | Product emphasis | Focused accent light, kept out of clients’ eyes |
Control reflections from mirrors, polished stone and chrome with shielding, careful aiming and indirect sources. Use UGR 19 as a detailed-task reference where the adopted standard calls for it.
Analyse window orientation, direct sun, heat gain and changing reflections. Combine blinds, solar-control treatments or privacy films with dimming, or hair colour may look different at noon and night.
How should you test the design before approving a salon fit-out?
Approve the proposal only when the drawings answer your salon interior design brief, not merely when the finish palette looks attractive. Use this salon fit-out checklist:
1. Request a scaled furniture plan. Check clear routes, wheelchair turning space, chair movement, trolley parking, reception queueing, door swings and access to every station.
2. Request a reflected ceiling plan showing mirror, task, ambient and accent fixtures. Match it against a lighting schedule listing working-plane lux targets, CRI, R9, glare control, dimming and colour temperature.
3. Ask for a ventilation and electrical coordination drawing. It must identify chemical exhaust or source capture, wet-area protection, outlet locations and the separation of chemical work from refreshments, clean towels, used linen and waste.
4. Test one complete styling bay and one shampoo bay before manufacturing all units. Use the actual chair, basin, mirror, trolley and gown, then check reach, posture, privacy, cable routes and shampoo-basin comfort.
5. Inspect the operating details, not just the renderings. Trace clean-towel delivery, used-linen removal, product storage, waste handling, surface cleaning and access to valves, traps, filters and electrical maintenance points.
Design Doves becomes relevant when one team must coordinate interior planning, bespoke salon furniture and manufactured fit-out elements; compare its drawings, mock-ups, specifications and site coordination rather than accepting a promise of luxury alone.
Frequently asked questions
How should a salon be divided into functional zones?
Arrange the salon around the client journey: arrival, consultation, service, washing, finishing and departure. Keep dirty-linen collection, chemical storage and staff movement away from client circulation.
How many stations, shampoo beds and waiting seats does a salon need?
Base capacity on peak appointments, service duration, opening hours and staff numbers. Check that every station and shampoo bed has clear working space, while waiting seats match the busiest arrival period.
How can a salon layout control noise, chemicals, movement and physical comfort?
Separate noisy equipment and back-of-house tasks from consultation and waiting areas. Provide ventilation for chemical services, short routes between stations and wash areas, comfortable seating, safe flooring and accessible circulation.
What lighting makes hair colour, skin and faces easier to assess?
Use even, low-glare lighting with high colour-rendering performance and a neutral colour temperature. Combine ambient illumination with face-level light and avoid strong coloured decorative lighting during consultations.
How should you test a salon design before approving the fit-out?
Review a scaled plan, mark door swings and working clearances, then walk through arrival, service, washing and departure sequences. Test furniture positions, lighting angles, storage access, staff routes and peak occupancy before construction.