Acrylic shutters can make a kitchen appear larger and sharper, but the wrong colour, sheen or storage mechanism will expose smudges, glare and wasted space every day. By the end, you will be able to assess finishes in real conditions, coordinate them with worktops and backsplashes, and specify storage that suits how your kitchen is used.
Key takeaways
- Test a full-size door in daylight and under the planned kitchen LEDs.
- Confirm gloss level, acrylic construction, edge treatment and colour before ordering.
- Limit the kitchen palette to coordinated cabinet, worktop and backsplash finishes.
- Plan storage by cooking, cleaning and appliance zones, not cabinet size alone.
How should you choose an acrylic colour for the kitchen’s light and size?
Choose an acrylic colour by the kitchen’s size, daylight direction, floor, wall paint and appliance finishes—not from a screen. For acrylic kitchen colour selection, test a full-size door in the room during daytime and with the planned LEDs switched on.
| Option | Best fit | Check before approving |
|---|---|---|
| White acrylic kitchen cabinets | Small or north-facing kitchens | Pair with warm materials if cool light makes white stark |
| Neutral acrylic kitchen colours | Compact or flexible schemes | Compare beige, cream and grey beside the floor and wall |
| Wood-tone acrylic shutters | Low-light rooms needing comfort | Check that the grain does not fight the flooring |
| Dark blue, green, charcoal or brown | Large, bright kitchens | Balance with a pale worktop or walls |
Lighting changes the sample. Warm 2700–3000 K LEDs make cream, beige and wood tones richer but can turn white yellow; neutral 3500–4000 K light keeps white and grey cleaner, while some greys appear bluer. Approve the cabinet sample and lighting specification together.
Dark high-gloss fronts reflect more light but reveal fingerprints, grease, dust and fine scratches. Choose them only if you accept frequent wiping and careful handling.
In an open-plan kitchen, place the sample beside the adjoining furniture, flooring, dining table and visible appliances. A colour that looks elegant against a showroom white wall can clash with a reddish floor or cool-grey sofa. Judge the complete sightline from the living area, not the cabinet in isolation.
How do gloss level and construction change the finish you are buying?
Gloss level changes reflection and maintenance, while construction determines whether the front survives daily use. A high-gloss acrylic kitchen reflects light strongly but shows fingerprints and fine scratches; a super-matte acrylic kitchen hides glare and handling marks better, yet grease can leave visible patches.
Textured fronts and an anti-fingerprint acrylic finish reduce smears and simplify wiping, but their texture can trap dust and resist polishing.
| Finish | Reflection | Cleaning effort | Scratch visibility | Handling marks |
|---|---|---|---|---|
| High-gloss acrylic | Strong, mirror-like | Frequent wiping for grease and fingerprints | Fine scratches stand out | High |
| Super-matte acrylic | Low, diffuse | Easy routine wiping; grease patches need care | Less obvious than on gloss | Low to medium |
| Textured or anti-fingerprint | Minimal to moderate | Wipe along the texture; avoid abrasive pads | Texture masks fine marks | Lowest |
Do not accept “acrylic” as a complete specification. Acrylic versus PET cabinets, high-gloss laminate, lacquered glass and membrane finishes can look similar in a showroom, so ask for:
- Core material and documented face thickness
- Edge treatment, corner radius and adhesive system
- Written warranty covering delamination, yellowing and chipped edges
- PMMA confirmation: acrylic is a surface layer, not painted wood
PMMA is softer than glass and many cured lacquers. Deep scratches, chipped edges or damaged substrate usually require panel replacement, not a touch-up.
Require sealed sink and dishwasher cut-outs, moisture-resistant carcasses, and an emissions document citing CARB Phase 2, TSCA Title VI or a clearly identified E1 basis. Obtain the supplier’s heat limits and appliance ventilation requirements; directed heat or steam can deform acrylic, change its gloss or weaken adhesive.
How can you combine acrylic, worktop and backsplash finishes without visual clutter?
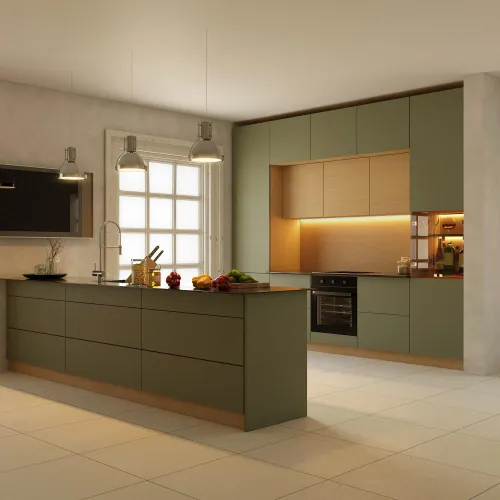
Keep one shutter finish dominant; let secondary materials mark specific zones rather than compete across the whole kitchen. Effective acrylic kitchen colour combinations usually start with one consistent gloss or matte field, then add contrast sparingly.
- Use gloss on tall units or selected base fronts where reflection is controlled.
- Use matte on high-touch drawers to reduce fingerprints and glare.
- Use wood-look panels to add warmth to an otherwise uniform run.
- Use glass shutters for display only where the contents can stay orderly.
- Use open shelves only where you accept dust and constant visual exposure.
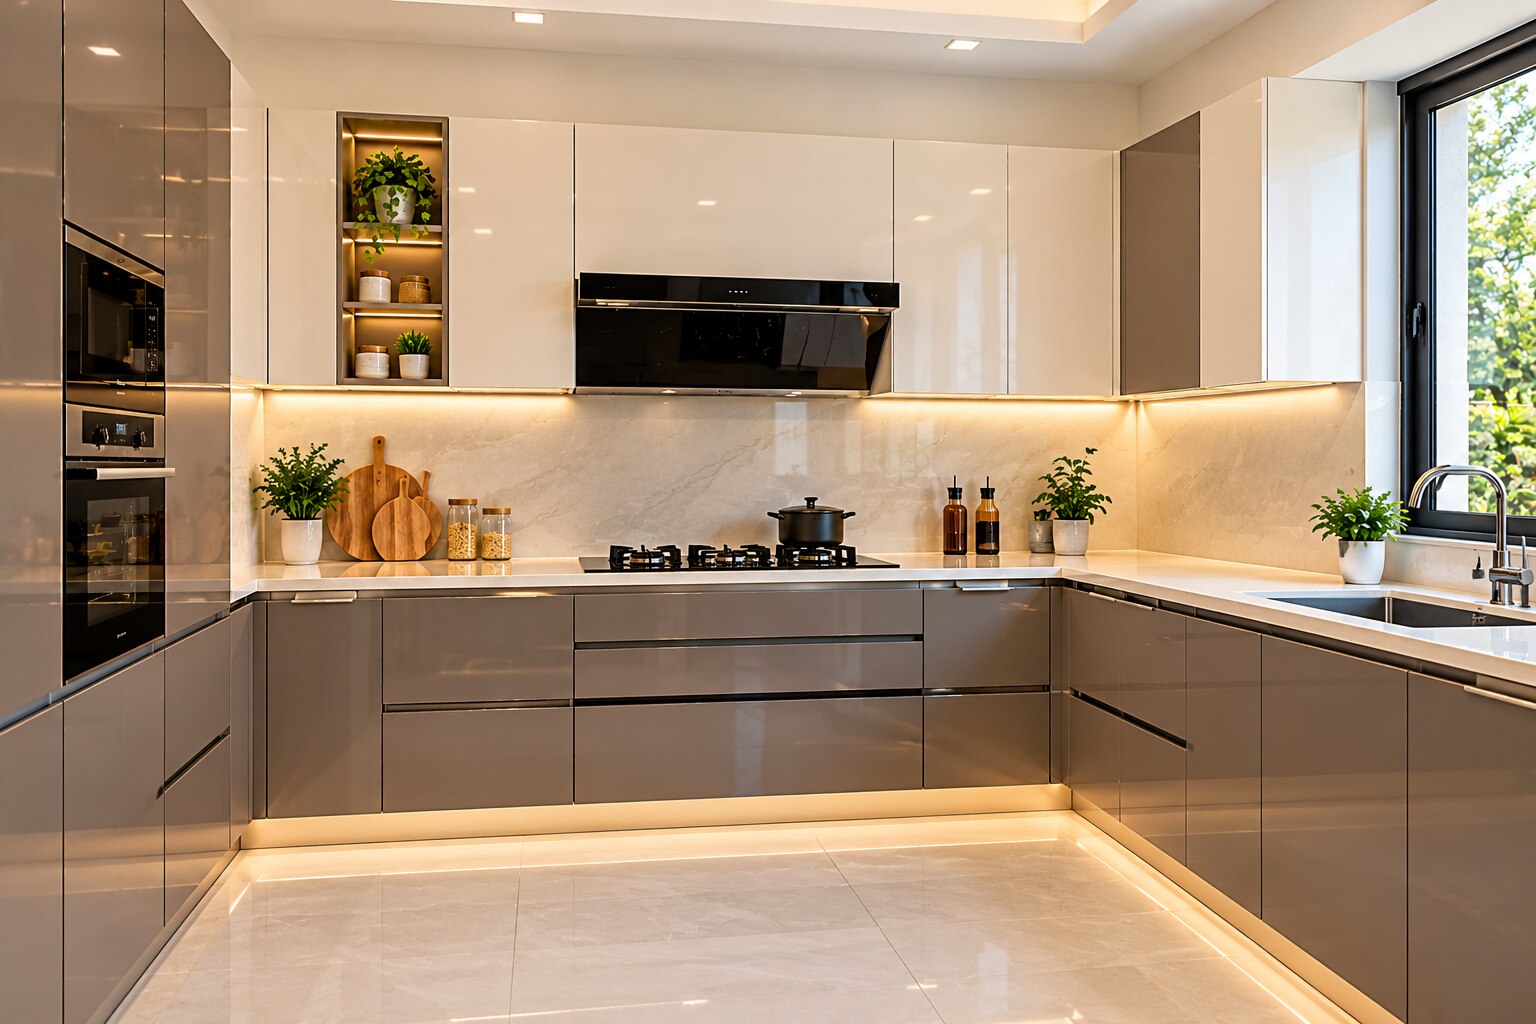
Choose the kitchen countertop for glossy cabinets by examining the stone veining, surface darkness, backsplash grout lines and joint positions beside the doors. A busy vein, dark reflective slab or strong grout grid can compete with glossy acrylic and make the room feel restless.
Useful acrylic kitchen backsplash ideas include a quiet slab, a fine-grained stone or a restrained tile layout that does not repeat competing lines.
Test a full-size shutter beside the actual countertop, backsplash, floor, handles and appliance fronts in morning and evening light, with the planned LEDs switched on. Reject phone-screen colours and small printed swatches; inspect the sample from normal standing distance for glare, fingerprints and edge quality before approving mixing matte and glossy kitchen finishes.
How should you plan storage around cooking, cleaning and appliance use?
Divide storage into zones before choosing cabinet sizes.
- Keep plates and pans near the dishwasher and hob.
- Place spices beside the preparation area.
- Store bottles in a stable pull-out.
- Put waste beside the sink and preparation area, without blocking the dishwasher door.
- Keep trays in vertical storage.
Choose full-extension drawers for heavy cookware; deep fixed shelves hide pans behind the front row. Use tandem drawers kitchen layouts for organised small items, and choose a tall pantry unit kitchen design with adjustable shelves only when you can see and reach its contents.
Compare corner storage for modular kitchen options by usable access, load rating, cost and maintenance, not nominal capacity.
| Option | Usable access | Load rating | Cost and maintenance |
|---|---|---|---|
| Blind corner | Poor at the rear | High on fixed shelves | Lowest cost; awkward cleaning |
| Carousel | Better visibility; rotating access | Check shelf rating | Moderate cost; moving parts need care |
| Magic-corner mechanism | Pulls contents into view | Check hardware limit | Highest cost; alignment and servicing matter |
Allow about 1067 mm for a one-cook aisle and 1219 mm for multi-cook use. Then check door swings, dishwasher clearance, wheelchair movement and the actual user count; a measured aisle that fails these checks is still a poor layout.
Add an appliance garage only with the manufacturer’s ventilation clearance. Use ceiling-height overhead cabinets when access and a safe step solution are acceptable. A pull-out bin must leave plumbing-trap access, cleaning space and dishwasher movement clear.
What must be fixed in the kitchen specification before production?
Before production, turn every preference into a signed acrylic kitchen specification checklist, not a verbal promise. Use modular kitchen shop drawings with your designer or manufacturer, including a studio such as Design Doves, and approve every construction detail before fabrication.
1. Record the approved full-size colour sample, gloss level, core board, face thickness, adhesive system, acrylic cabinet edge treatment, corner radius, sealing method, warranty and cleaning method. Include written kitchen cabinet warranty questions: who replaces a chipped edge, failed bond or moisture-damaged board, and whether repairs are possible on site.
2. Freeze appliance model numbers before cabinet manufacture and attach each installation manual to the drawings. Mark ventilation gaps, grille areas, service access and removal routes; a tight-looking tall unit becomes costly when a refrigerator or oven cannot be isolated or extracted.
3. Show heat and service zones on the plan. Keep hot cookware, oven vents, toasters and steam outlets away from acrylic panels within the appliance manufacturer’s and panel supplier’s stated limits, then detail sink-base sealing, dishwasher edges, plumbing-trap access and waste-bin ventilation.
4. Specify drawer load ratings, pull-out clearances, hardware, carcass material and exposed service-penetration seals against the actual daily loads and moisture conditions. A bin pull-out must not block the dishwasher or trap access, and “waterproof” alone does not prove that the board, joints or edges can withstand a wet sink zone.
Frequently asked questions
How should you choose an acrylic colour for the kitchen’s light and size?
Test a full-size door against the floor, wall paint and appliance finishes in daylight and under the planned LEDs. Light colours help small or poorly lit kitchens feel more open, while darker colours need controlled lighting and surrounding contrast.
How do gloss level and construction change the finish you are buying?
Confirm whether the door uses high-gloss or matt acrylic, how the acrylic is bonded to the substrate, and how edges are finished. Ask for a physical sample because gloss level changes reflections, fingerprints and how colour appears.
How can you combine acrylic, worktop and backsplash finishes without visual clutter?
Use one dominant cabinet finish, one worktop material and a restrained backsplash. Compare samples together in the room, then repeat one colour or texture to connect the three surfaces.
How should you plan storage around cooking, cleaning and appliance use?
Place frequently used cookware near the hob, bins and cleaning supplies near the sink, and appliances where doors and work surfaces remain accessible. Reserve drawers for heavy items and measure every appliance before assigning a cabinet.
What must be fixed in the kitchen specification before production?
Record door colour, sheen, acrylic construction, thickness, edge profile, hardware, cabinet dimensions, internal accessories, appliance cut-outs, worktop, backsplash, lighting and electrical points before fabrication begins.