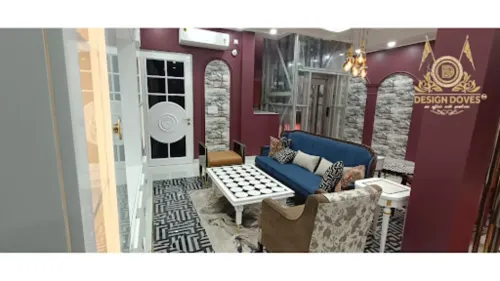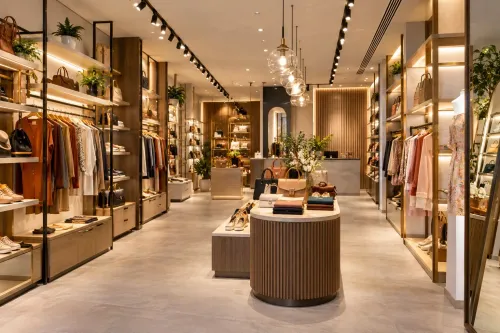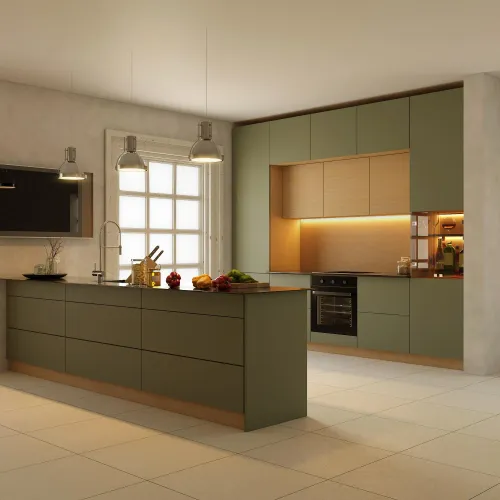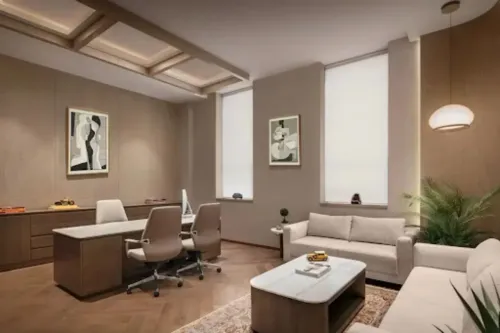
A successful room makeover starts by resolving practical conflicts before choosing finishes: furniture must leave clear paths, storage must hold real possessions, lighting must support each activity, and the visual scheme must still feel coherent. By the end, you will have a method for measuring the room, testing options, specifying storage and lighting, and approving a design before custom work begins.
Key takeaways
- Measure finished walls, corners, beams and openings before planning fitted furniture.
- Map activity zones and test walking routes with temporary furniture or floor markings.
- Size storage from your real belongings, including bulky, seasonal and frequently used items.
- Approve detailed drawings, finishes, hardware and service points before bespoke manufacturing.
Start With a Measured Room and Activity Zones
A reliable room makeover begins with a site survey, not a scaled architectural plan. A room measurement must capture the finished space because wall thicknesses, out-of-square corners and beam drops can shift a fitted wardrobe, kitchen or media unit by several centimetres.
Record these details on a dimensioned plan:
- Wall lengths, ceiling height and finished-floor level
- Window and door positions, reveals, sill heights and door-swing clearances
- Structural columns, beam drops, radiators and other fixed obstructions
- Electrical points, switches, data outlets and ceiling light locations
- Plumbing points, waste outlets, gas connections and appliance ventilation routes
- Uneven walls, floor slopes and any service void needed behind cabinetry
Mark each opening and service point on the drawing rather than relying on memory. A misplaced socket can force a furniture layout away from the wall, while an unrecorded plumbing point can make an attractive kitchen plan impossible to install.
Next, divide the room into activity zones before selecting furniture. Give each zone the space it needs to function, then overlay circulation paths, storage locations and lighting positions. In a kitchen, treat preparation, cooking, washing, refrigeration, waste and landing space as practical work zones; the work triangle is a diagnostic, not a rule.
This measured foundation lets storage fit the real shell, lighting serve real tasks and style follow proportions instead of disguising layout problems.
Test Circulation Before Selecting Furniture
A proposed arrangement works when you can walk, open, sit, turn and carry items without moving another piece of furniture. Test those actions before ordering anything.
1. Draw the room at a fixed scale on a scaled floor plan, including walls, columns, windows, radiators and every door leaf. Show each door swing clearance; a cabinet or chair inside that arc will create an obstruction every day.
2. Add furniture footprints at their actual outside dimensions, including armrests, bed frames and wardrobe shutters. Mark circulation clearance as a continuous route from the entrance to windows, storage, seating and work areas.
Keep about 900 mm for a comfortable main walkway, and leave at least 450 mm between a sofa and coffee table so people can sit without blocking knees.
3. Recreate the plan with a masking tape layout on the finished floor. Walk the route while carrying a laundry basket, opening drawers, pulling out dining chairs and standing beside the bed. If two people cannot pass, or a door hits a chair, change the arrangement before changing the furniture.
4. Test the busiest moment, not an empty room. Pull a dining chair out about 900 mm from the table, open wardrobe shutters fully and check kitchen work aisles: allow roughly 1,067 mm for one cook and 1,219 mm for two.
A layout that looks spacious in plan can fail when every activity happens at once.
Design Storage Around What You Actually Store
Divide storage by the objects you own, not by equal-sized cabinet shutters. Effective wardrobe planning separates short-hang, long-hang, folded, accessory, and shoe storage so each item remains reachable without wasting vertical space.
| Storage zone | Suitable contents | Capacity and access trade-off |
|---|---|---|
| Short-hang | Shirts, trousers, jackets | Double-hang rails increase capacity, but leave enough clearance for bulky garments |
| Long-hang | Coats, dresses, seasonal pieces | Uses more vertical volume; measure your longest garments before fixing the rail height |
| Folded storage | Knitwear, denim, linens | Adjustable shelves prevent dead space; deep stacks become difficult to reach |
| Accessories | Belts, jewellery, bags, ties | Shallow drawers and dividers improve visibility without consuming hanging space |
| Shoes | Daily and occasional footwear | Ventilated pull-outs or angled shelves improve access and prevent a deep, hidden row |
Compare cabinets by usable internal volume, not shutter count. Hinges, drawer runners, shelf thickness, fillers, service voids, appliance ventilation gaps, and door-swing clearances all reduce capacity inside a nominally large unit. Ask for the internal width, depth, clear height, and number of adjustable shelves.
Use full-height cabinetry for infrequently used or seasonal items, with a lower everyday zone that does not require a stool. Open shelving keeps books, objects, or daily essentials visible, but it collects dust and makes uneven contents part of the room’s appearance. Keep it selective, while built-in storage hides visual clutter and protects circulation.
Reserve removable panels for plumbing traps, valves, filters, appliance connections, and electrical points; a perfectly boxed-in cabinet becomes expensive to repair.
Layer Lighting With Materials, Acoustics and Maintenance
Approve lighting and finishes together, at full scale, before manufacturing. A small sample will not show grain matching, edge profiles, handle comfort, shadow gaps, junctions, or maintenance marks. Use a large mock-up or installed sample, then inspect it under the intended fittings; colour shifts that disappear in daylight can become obvious at night.
- Ambient lighting provides even illumination for movement and general use. Spread it across the room rather than relying on one bright central fixture, which leaves faces and wardrobe interiors in shadow.
- Task lighting targets the activity zone: place it at kitchen counters, desks, dressing areas, reading seats, and bathroom mirrors. Shield or diffuse the source so your hands do not cast shadows and polished surfaces do not reflect it into your eyes.
- Accent lighting draws attention to artwork, joinery, textures, or architectural features. Concealed linear lights and dimming usually control glare better than adding brighter downlights.
Specify LED colour temperature alongside colour-rendering performance, not wattage alone. A warm setting can suit timber and fabric, while a higher colour temperature may help concentrated work; check the colour-rendering index so skin, food, artwork, and finishes look accurate.
Hard floors, glass, stone, lacquer, and bare walls amplify sound. Balance them with rugs, curtains, upholstered furniture, or slatted panels with acoustic backing. Test the room after dark at several dimming levels, and choose wipeable, replaceable finishes where fingerprints, splash marks, or dust will be visible.
Approve the Design Before Bespoke Manufacturing
Authorise bespoke manufacturing only after the design has been tested as a room, not admired as a presentation. The approval pack should show exact dimensions, door swings, furniture clearances, storage internals, lighting positions, material junctions, and the locations of removable panels.
1. Review the 3D interior model from eye level and from each entry point. Check that shutters open without striking furniture, drawers do not block walkways, wardrobe interiors remain reachable, and decorative features do not reduce useful storage.
2. Inspect finish samples under the intended lighting, then request a large mock-up or installed sample. Look for grain matching, edge profiles, handle comfort, shadow gaps, colour shifts after dark, joins between materials, and fingerprints or cleaning marks that will stand out.
3. Test lighting at night and at several dimming levels. Confirm separate layers for general movement, task surfaces, and accents; check that counters, faces, wardrobe interiors, artwork, and wall finishes are not left dark or exposed to glare. Record LED colour temperature and colour-rendering performance, not wattage alone.
4. Mark service access on the drawings. Keep plumbing traps, shut-off valves, filters, appliance connections, electrical points, exhaust ducts, and removable panels reachable; fully boxing them in turns a minor repair into dismantling.
Ask Design Doves to issue a final schedule covering finishes, hardware, dimensions, lighting controls, and access panels before you sign off. In bespoke interior design, that signed record prevents a beautiful 3D view from becoming an expensive, impractical room.
Frequently asked questions
Why must you measure a finished room before designing it?
Finished wall thicknesses, out-of-square corners, beam drops and openings affect the fit of wardrobes, kitchens and media units.
How can you test circulation before choosing furniture?
Map activity zones, mark furniture footprints on the floor and check walking routes, door swings and access to windows and storage.
How should storage be designed for a room makeover?
List what you own, group items by use and size compartments around bulky, seasonal, everyday and display objects.
What should you approve before bespoke furniture is manufactured?
Check measured drawings, furniture dimensions, door and drawer clearances, materials, colours, hardware, lighting points and service connections.